🧠 MRI for Our Autism Kids — Our Experience Under Anesthesia
When the doctor first told me my daughter needed an MRI, my heart sank.
Not because I was scared of the test itself, but because I instantly thought:
“How is she going to get through it without panicking?”
If you’re a parent of an autistic child, you already know — the MRI process is not just “laying still.” It’s loud, it’s bright, it’s a strange room with a giant machine. And for our kids, that’s often just too much.
That’s why for most autism families, an MRI is done under anesthesia.
And honestly? It was the best choice for us.
Why the MRI Was Needed
In our case, the doctor wanted to get a detailed look at her brain — not because something was “wrong,” but because it helps guide therapies, rule things out, and give a baseline.
The MRI doesn’t use radiation, just powerful magnets and radio waves, so it’s safe — but it’s also long and requires total stillness.
Step 1 — Scheduling and Speaking Up
When I booked the appointment, I told the hospital:
“My child is autistic, sensory-sensitive, and will definitely need anesthesia.”
This helped them prepare the right staff — including an anesthesiologist who works with pediatric neuro patients.
Pro tip: Always mention autism upfront. It changes how they schedule and support your child.
Step 2 — The Day Before
- They gave me fasting instructions: no food after midnight, only clear liquids until a certain time.
- I packed comfort items — her blanket, noise-reducing headphones, and her favorite small stuffed toy.
- I prepared myself for a long day.
Step 3 — The Morning Of
We arrived early. The waiting room was quiet (thankfully), and they gave us paperwork to fill out. The anesthesiologist met with us to go over her history and make sure she was safe for sedation.
They applied a numbing cream before putting in the IV, so she didn’t even notice the needle.
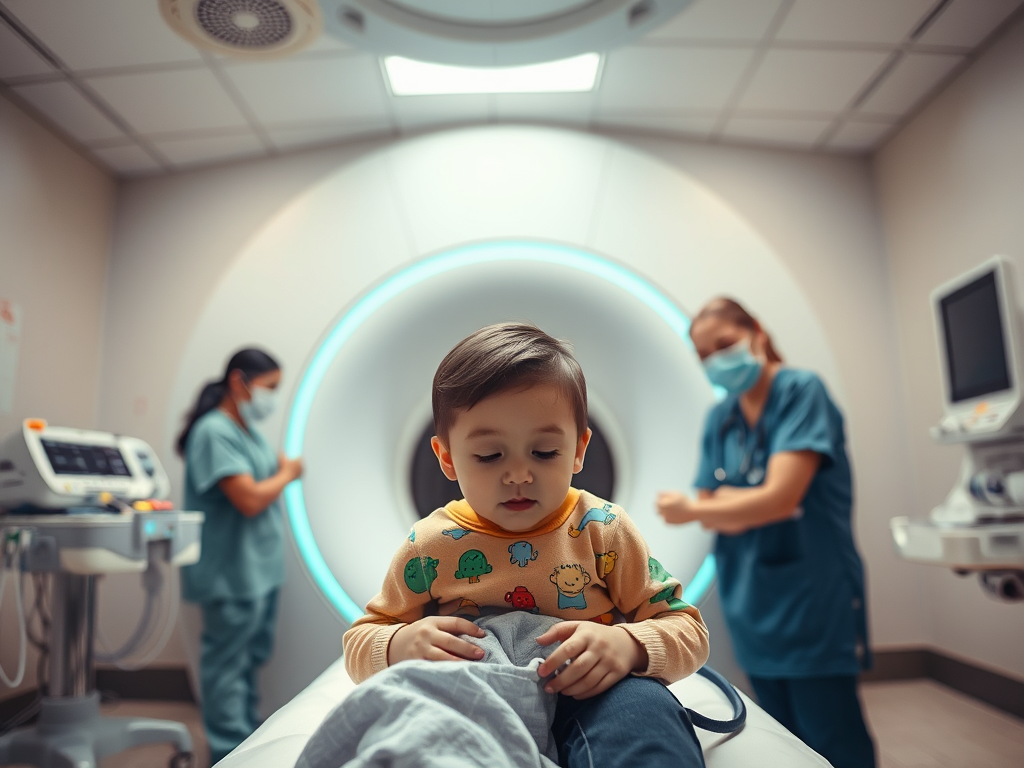
Step 4 — The MRI Room
The MRI machine looks like a big white donut.
Normally it’s very loud, but because she was asleep, she never heard a thing.
They monitored her breathing, oxygen, and heart rate the whole time.
Step 5 — Recovery
After the scan, she went to the recovery room, still asleep. When she woke up, she was groggy, clingy, and not very hungry — totally normal. We stayed for about an hour until she was steady enough to go home.
The rest of the day was just rest, snacks, and cuddles.
Step 6 — Results
The images went to our neurologist, who called us a few days later.
That waiting period is always hard, but I reminded myself: the MRI was just one piece of the puzzle.
💡 Parent Tip:
Don’t let anyone pressure your child into an awake MRI if you know they can’t tolerate it. Clear images are more important than “seeing if they can do it awake.” For autism, anesthesia isn’t a failure — it’s a kindness.
If you’re facing an MRI for your autistic child, know this: you are your child’s advocate. Speak up, ask for accommodations, and prepare for a full day. It’s a big deal, but it’s also doable — and you’ve got this.